
How to Make a Noisy Field Recording Usable
Tools used, in order
What you end up with: A voice recording that is loud enough and clean enough to transcribe or publish.
A recording made in a real room sounds different from the one you imagined. There is a fan, a fridge, traffic, and the speaker was three metres from the microphone. Usually both problems appear together: too quiet and too noisy.
The instinct is to turn the volume up first, because that is the obvious problem. That is the wrong order, and the rest of this guide explains why.
What noise removal can and cannot do
The denoiser runs RNNoise, which processes voice in short frames and estimates what is noise versus speech. That design sets its limits:
It handles steady noise well. Fan hum, air conditioning, room tone, a distant motorway — anything with a stable spectrum.
It handles other voices poorly. If a second person talked in the background, they are speech, not noise. The model will keep them and may mangle them.
It cannot recover masked words. Noise that completely covers a syllable means that syllable is gone. No processing brings it back.
It can damage music. If your recording contains music, expect it to sound odd afterwards. This is a voice tool.
Knowing which of these you have decides whether this workflow is worth starting.
Step 1: Get the audio out of whatever it is in
Field recordings usually arrive inside a video container: a phone video, a screen recording, a camera file.
Use the audio extractor to pull the audio track out. Working on a 40 MB audio file instead of a 2 GB video is faster at every later step, and it makes the intermediates easier to keep organised.
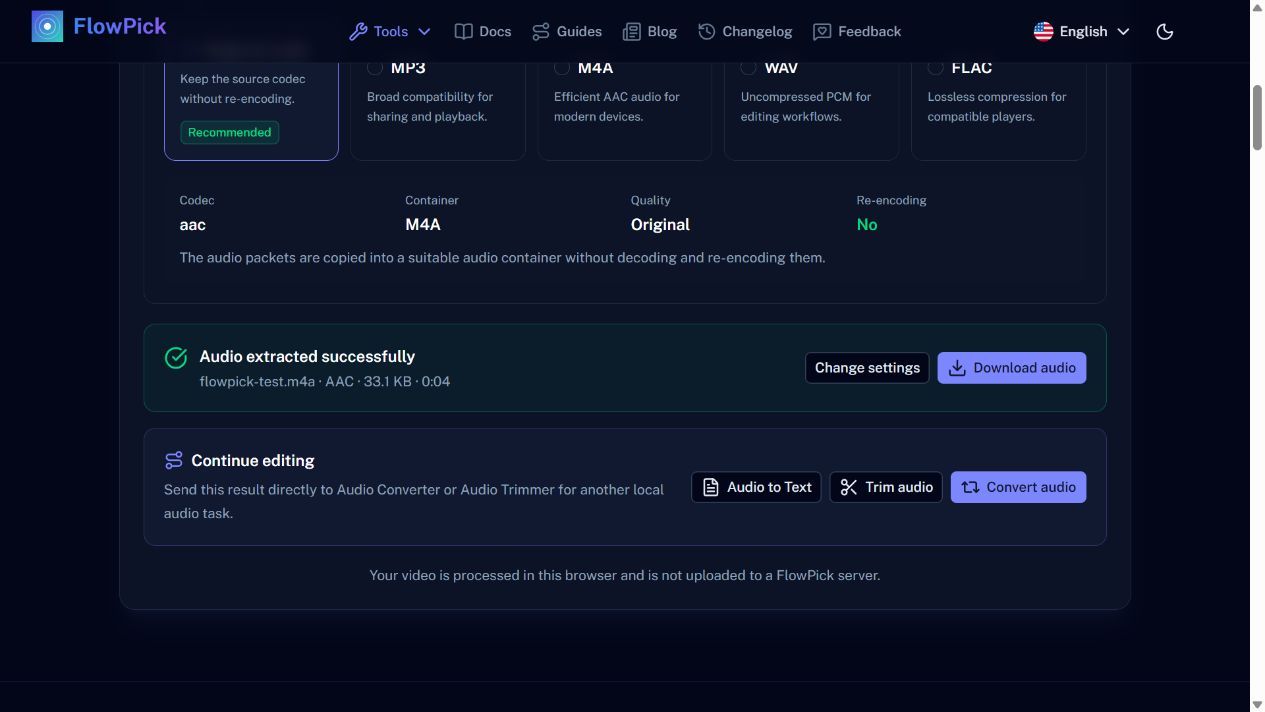
Generated four-second MP4 → 33.1 KB AAC/M4A audio. Original audio mode copies the audio packets without re-encoding.
If the source is already an audio file, skip this step.
Step 2: Denoise before you turn anything up
This is the part that decides the outcome.
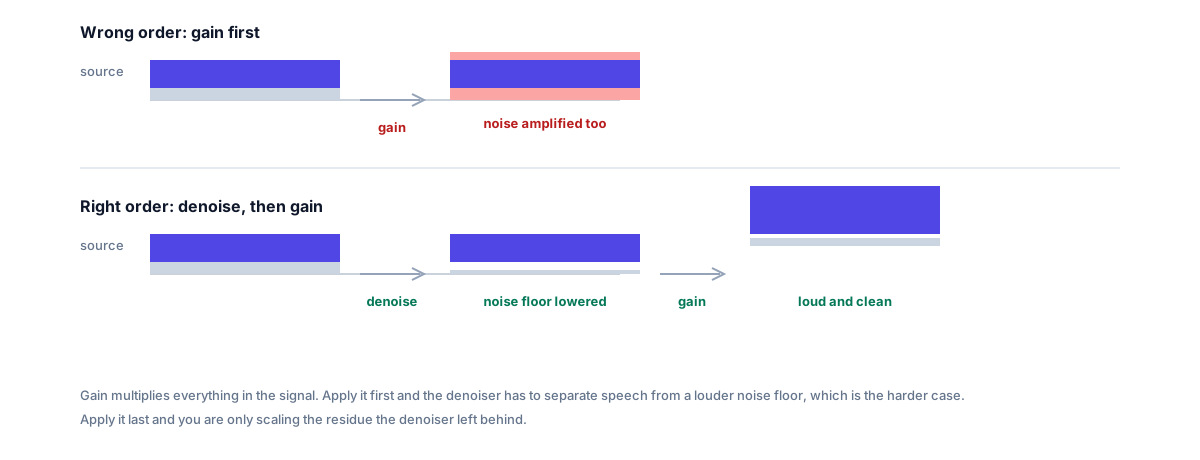
Gain applied first is applied to the noise too, and the denoiser then has a harder job.
Turning the volume up first multiplies everything, noise included. The denoiser then sees a louder but equally noisy signal, and its estimate is no better — but your ears now notice the artefacts more.
Open the recording in the noise remover and process the original level.
Two settings matter:
Preview first. The tool processes the first 30 seconds as a preview. Always listen to that before running the full recording, because the full run on a long file takes time and the result is not always better.
Denoise amount. The output mix is a percentage, and lower values blend more of the original back in. Full strength removes the most noise and also the most character — voices start to sound processed. For material you intend to publish, somewhere below full strength usually sounds better; for material you only intend to transcribe, push it higher.
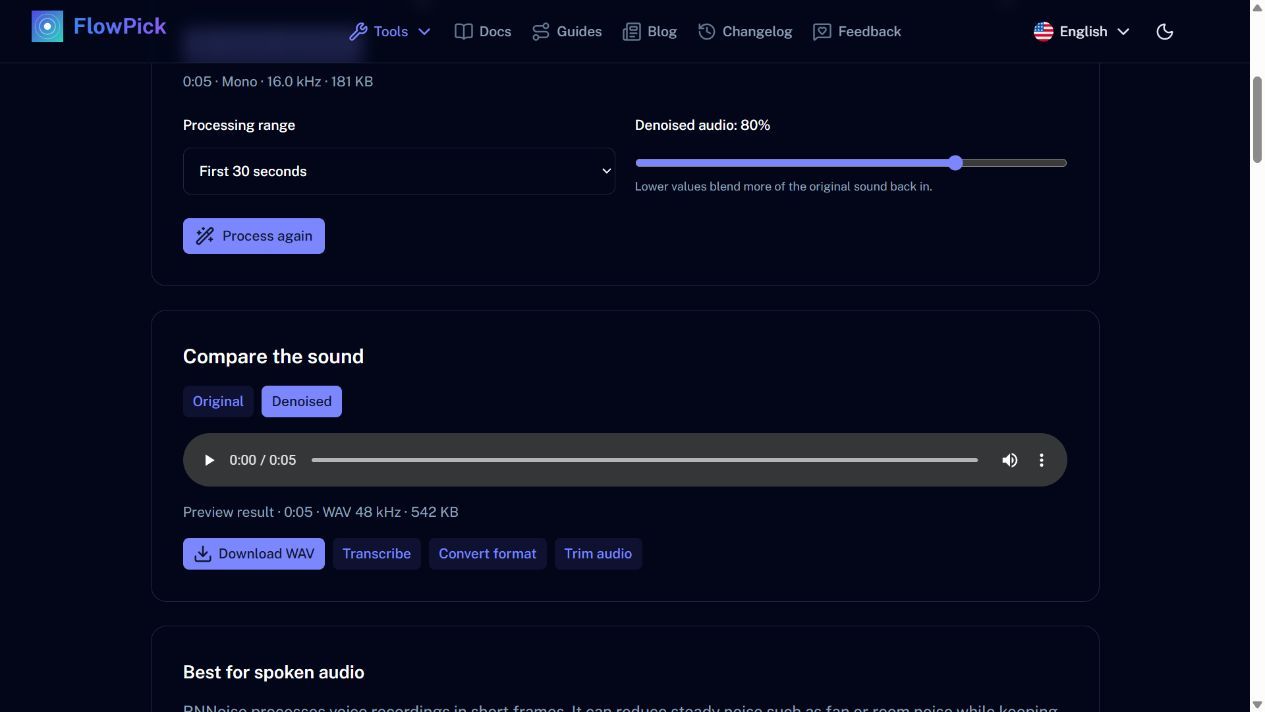
Interface demonstration with generated speech at an 80% mix. This is not a noisy field recording or evidence of improved speech quality.
The tool's limit is 30 minutes per file. Longer recordings need to be split, which is also a reasonable excuse to cut the parts you will not use.
Step 3: Raise the level, gently
Now the recording is clean but still quiet. Open it in the volume booster.
Raise until it is comfortable, not until it is loud. Two reasons:
- Boosting also raises whatever noise survived, and after denoising that residue is often hiss the model could not separate from breath.
- If the recording clips — peaks hitting the ceiling — the damage is permanent. Leave headroom.
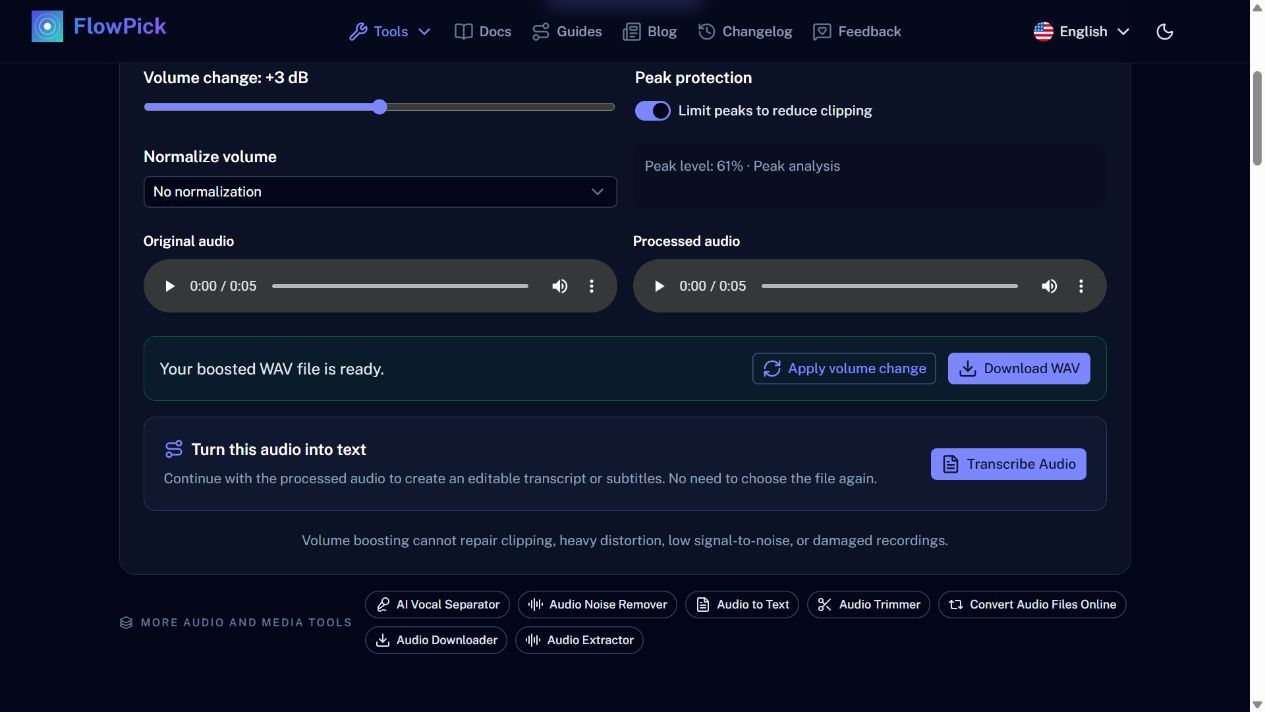
Generated speech with +3 dB gain and peak protection enabled. The displayed 61% peak is the source analysis; the interface does not display a measured output peak.
Listen for the sibilance: "s" and "sh" sounds are the first thing to distort when gain goes too high.
Step 4: Decide what the file is for
The same recording needs different treatment depending on the destination, and it is worth being explicit about which one you want before exporting.
For transcription. Denoise hard, keep the level moderate. Recognition is more sensitive to the noise floor than to absolute loudness. Send the result to Audio to Text.
For sharing. Denoise gently and normalise the level. Over-processed speech sounds worse to a listener than mild background noise does.
For editing. Export a WAV at the processed level and let the editor do the final level matching. Do not apply the last 3 dB here.
Where this goes wrong
The result sounds robotic. Too much denoise. Go back to the original and reprocess at a lower amount; the processing is not incremental, so re-running from the source is required.
Noise is still there after processing. It was probably not steady noise, or it was too loud relative to the voice. Check whether it is a fan (should work) or a conversation (will not work).
The voice sounds distant and thin. The microphone was far away. Denoising cannot add proximity; it can only remove what is not voice, and a distant voice has little of what makes speech sound present.
The file got bigger. Denoised output is WAV regardless of the input format. Convert to MP3 or M4A with Audio Converter if size matters.
What you end up with
A recording that is usable for its purpose, and an honest sense of what that purpose can be. A phone recording from across a room will not become a studio interview, but it can become a perfectly searchable transcript, which is often the actual goal.